Discover how to create a custom, functional, cost-effective knife sheath using everyday household items.
In this article, we’ll guide you to learn how to make a knife sheath out of household items.
In fact, I will help you to craft a durable and personalized sheath that protects your blade and showcases your resourceful ingenuity.
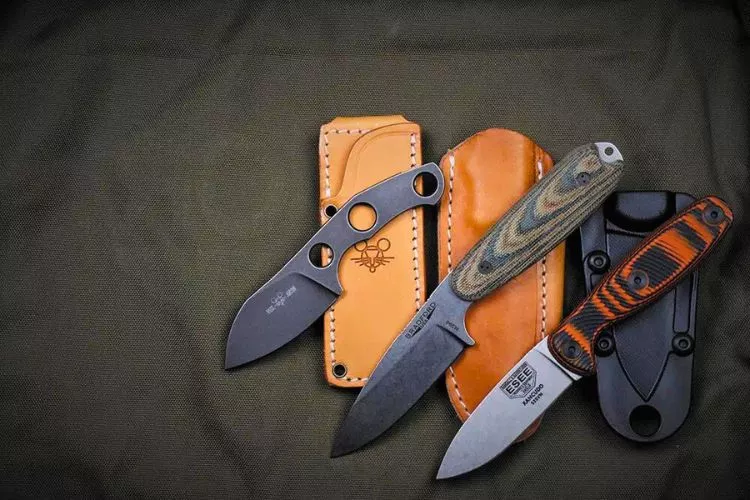
Say goodbye to store-bought sheaths and embrace these simple yet innovative techniques!
how to make a knife sheath out of household items?
Protecting your knife’s sharp edge is just as crucial as maintaining its cleanliness and quality.
In this step-by-step guide, we’ll walk you through creating a custom knife sheath using readily available household items, saving you time and money.
Let’s get started!
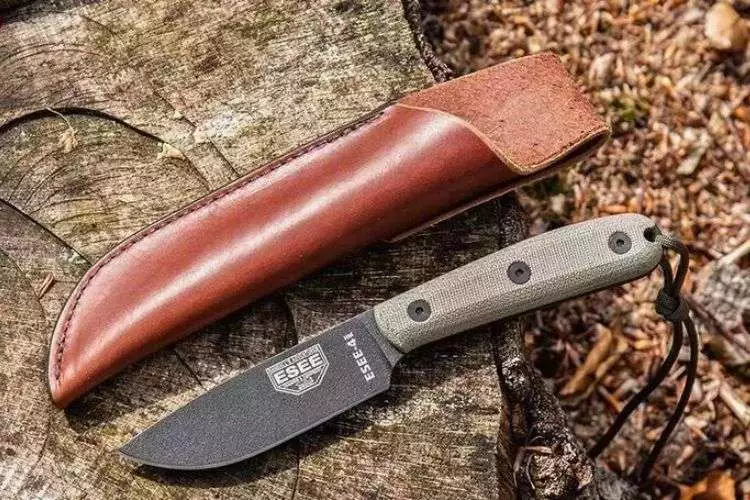
Materials You’ll Need
- Stiff material (cardboard or plastic from a milk jug)
- Duct tape (or other strong tape)
- Scissors or a utility knife
- Marker or pen
- Ruler or measuring tape
- Optional: Fabric or material for decoration and added protection
Step 1: Determine the Size of Your Knife
Start by measuring your knife, focusing particularly on the blade. The sheath is designed to cover and protect the blade. Thus its dimensions are critical.
Using a ruler or a measuring tape, measure the length of the blade from the very tip up to where it connects to the handle; this meeting point is known as the ‘tang.’
Next, measure the width at the broadest point of the blade. Be sure to note these dimensions down. However, the sheath shouldn’t be an exact fit to these dimensions, so add a 1/4 inch or approximately 0.5cm to each side of your measurements.
This additional space is necessary for the thickness of the taping and to accommodate any extra layers you wish to add. This ensures the knife fits into the sheath comfortably without being too snug or loose. These adjusted dimensions will form the size of the sheath you’ll create.
Step 2: Choose Your Stiff Material
When selecting your sheath’s stiff material, durability and practicality are key. We recommend using either cardboard or plastic from a milk jug.
Cardboard is a reliable and easily manipulated material. It is stiff enough to add structure to the sheath yet malleable enough to be cut and folded without much strain. A used shipping box or cereal box would provide sufficient cardboard for this project.
Alternatively, a plastic milk jug can also make an excellent choice. The advantage of plastic is its resilience to water, providing a waterproof layer of protection for your knife blade.
However, cutting and shaping can be a bit more challenging than cardboard. Remember to consider the environment of use for your knife sheath before making your material choice. Plastic would offer more longevity if used in a moist or humid environment.
In either case, ensure the material you choose is clean and dry before you begin.
Step 3: Cut Out Two Identical Pieces
First, you must choose a suitable stiff material for your sheath, such as leather, Kydex, or sturdy fabric.
Once you’ve selected the material, use a marker and a ruler or measuring tape to mark the dimensions of your sheath on the material. Be sure to provide enough space for the entire blade and a small seam allowance.
Once you’ve marked the dimensions, use a pair of scissors, a utility knife or other cutting tool (depending on the material) to cut out two identical pieces. These pieces will be glued together in the following step to create the sheath.
Step 4: Shape the Material
After cutting out the material pieces:
- Place the blade on one of them, aligning it with the center.
- Fold the material half along the blade’s length, ensuring the edges align and creating a crease in the middle.
- Repeat this process with the second material piece.
Creating these creases serves several purposes: it helps the material conform to the shape of the blade, provides a tighter fit for the blade, and makes it easier to align the two material pieces later on.
Step 5: Join the Pieces
After shaping the material, you’re ready to combine the two pieces to create the sheath. Start by placing the two cut-out pieces on each other, ensuring the creases are perfectly aligned. This alignment is crucial for the proper fit of your knife.
Next, decide upon a strong adhesive method. Duct tape is a popular choice due to its strength and durability, but feel free to use any strong tape susceptible to withstand the rigors of frequent knife usage.
Begin carefully taping along the edges of the pieces, leaving the top edge open to serve as the opening for your knife.
Ensure the tape is secured tightly along the edges, pressing down firmly to avoid gaps or openings. Such gaps could potentially allow the knife blade to escape the sheath, compromising the safety and utility of your handmade sheath.
Step 6: Insert Your Knife
Upon securing the sheath, it’s time for a test run. Gently insert your knife into the newly created opening, observing whether it fits snugly and securely. The knife should slide in smoothly, with the material of the sheath snug against the blade.
Perform a comprehensive safety check post-insertion. Ensure there aren’t any sharp edges on the sheath’s opening or elsewhere that could potentially harm you during handling.
Additionally, confirm that your knife blade is entirely covered when fully inserted into the sheath. This comprehensive detour ensures both your safety and the protection of your blade, contributing to the longevity and effectiveness of your DIY knife sheath.
Step 7: Add Reinforcements (Optional)
To reinforce the opening of the sheath, you can fold a piece of duct tape over the top edge. This added layer of protection will help prevent the knife from cutting through the opening and further secure your blade.
Step 8: Customize and Decorate (Optional)
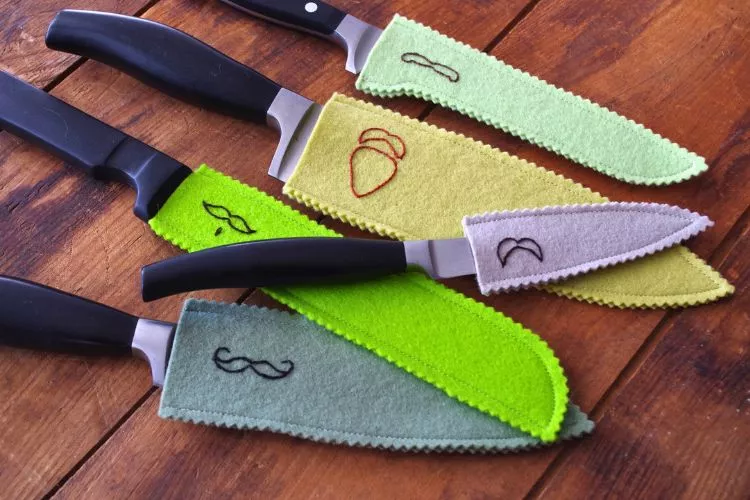
Feel free to personalize and decorate your knife sheath with fabric or other materials to make it unique and visually appealing. You can also attach straps or loops to carry the sheath on your belt or bag.
Step 9: Test and Adjust
Perform a final test by inserting and withdrawing your knife from the sheath several times, ensuring it slides in and out smoothly. If necessary, adjust the sheath to ensure proper fit and function.
Congratulations! You’ve successfully crafted your very own DIY knife sheath using household items.
Enjoy this functional and personalized addition to your collection, and don’t be afraid to experiment with various materials and decorations to find your perfect combination!
Please remember to always exercise caution when handling knives and sharp objects. The DIY knife sheath should only be used as a protective measure, and you should never attempt to use it in any unsafe or harmful manner.
What is the best material for knife sheaths?
There are several materials ideal for crafting knife sheaths, each with unique properties, advantages, and drawbacks. Some popular materials include:
- Leather: Leather has been used for knife sheaths for centuries due to its durability, flexibility, and appearance. It’s a traditional and natural choice, offering protection and a classic aesthetic. On the downside, leather can sometimes absorb moisture, potentially leading to rust or corrosion on the knife blade. To mitigate this, it’s essential to properly maintain and treat your leather sheath with appropriate care products.
- Kydex: Kydex is a thermoplastic material known for its rigidity, durability, and resistance to moisture. It has gained popularity in recent years because it’s lightweight, low-maintenance, and easy to mold into the desired shape when heated. A Kydex sheath provides a knife’s excellent fit and retention and is less likely to succumb to elemental damage. However, Kydex may lack the traditional appeal of leather and can sometimes scratch the blade’s surface due to its hardness.
- Nylon: Nylon sheaths are typically made from heavy-duty nylon fabric like Cordura, which is resistant to abrasion and tearing. This material is lightweight, affordable, and low maintenance, making it a popular choice for utility knives or those used in more rugged environments. However, nylon sheaths may not offer the same fit, aesthetics, or rigidity as leather or Kydex.
The best material for a knife sheath ultimately depends on the user’s preferences, budget, and intended use.
What plastic is used for knife sheaths?
Kydex is the predominant plastic used for knife sheaths. It is a versatile and durable thermoplastic material that features several advantages, making it an ideal choice for creating sheaths:
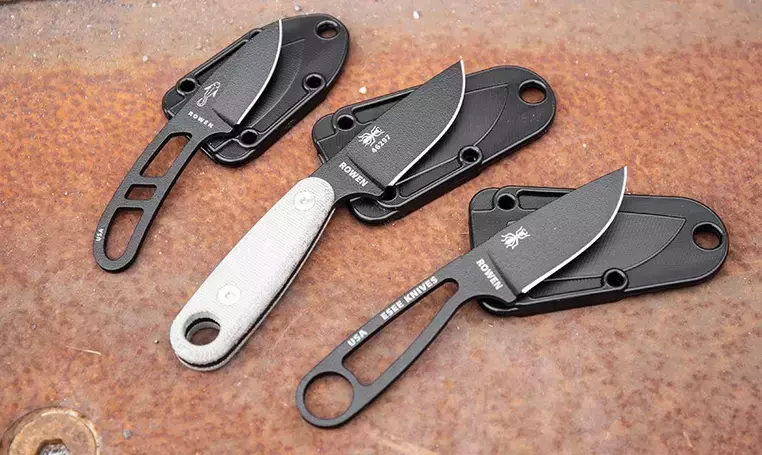
- Formability: When heated to the appropriate temperature, Kydex can easily be molded to the shape of the knife for a custom, secure fit.
- Weather Resistance: Kydex is resistant to moisture, helping prevent rust or corrosion on the knife blade.
- Rigidity and retention: Unlike softer materials, Kydex maintains its shape and firmly retains the knife, reducing the risk of accidental dislodging.
- Durability: Kydex is known for its abrasion resistance, ensuring a long-lasting and resilient sheath.
- Low-maintenance: Unlike leather, Kydex doesn’t require regular treatments or conditioning to stay in good condition.
Despite these advantages, Kydex may scratch the knife’s surface over time due to its hardness, and some users might prefer the more traditional look and feel of leather or fabric sheaths. Nonetheless, Kydex remains a popular and effective plastic choice for knife sheaths.
How to make a knife sheath without leather?
You can consider materials such as Kydex or durable fabric to create a knife sheath without using leather. I will outline a basic method using Kydex, a thermoplastic material popular for its versatility and durability.
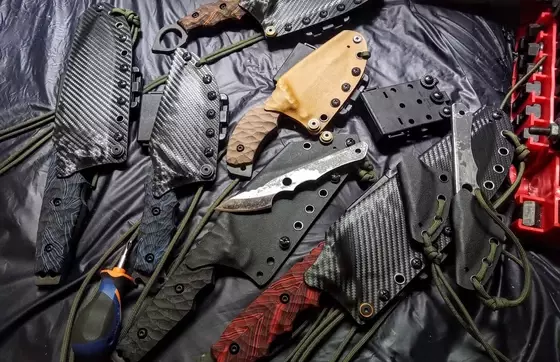
- Measure Your Knife: Measure the length and width of your knife blade. This will help you determine the size of the Kydex sheet needed for the sheath.
- Cut the Kydex Sheet: Mark the dimensions of the sheath onto the Kydex sheet, then cut the sheet using a utility knife or other suitable cutting tools.
- Heat and Mold the Kydex: Heat the Kydex sheet using a heat gun or an oven until it becomes soft and pliable. Once the Kydex has reached the appropriate temperature, wrap it around the knife blade while wearing heat-resistant gloves. Press the Kydex against the contours of the knife and hold it in place until it cools and becomes rigid.
- Trim Excess Material: Trim any excess Kydex material using a utility knife or rotary tool so that the sheath matches the dimensions of your knife.
- Attach a Belt Loop or Clip: You can use rivets or another strong adhesive method to attach a belt loop or clip. Position the belt loop or clip on the backside of the sheath and secure it in place using the chosen method.
- Test the Fit: Finally, insert your knife into the sheath to ensure it fits snugly. The Kydex should hold the knife securely and provide quick and easy access.
Remember that creating a knife sheath without sewing leather might require some practice and patience, but many resources and tutorials are available to guide you through the process.
How to make a knife sheath out of paper?
Creating a knife sheath out of paper is a simple and cost-effective solution for storing and protecting your knife. Let’s walk through the steps:
- Gather Materials: You would need a sheet of paper and a pair of scissors. Optionally, you could use some plastic for added reinforcement.
- Prepare the Paper: First, fold your paper into a triangle and cut off the excess. Then, fold this triangle in half. This creates a pocket for the knife and makes the sheath more durable.
- Insert Your Knife: Slide the blade of the knife into the folded paper. Ensure the paper surrounds the blade to ensure maximum protection.
- Secure the Sheath: To keep the knife in place, you could fold the top part of the paper and tape it securely. Alternatively, some might prefer to fold the paper again for additional stability.
- Final Safety Check: Before using, make sure to double-check the sheath for safety. Note that a paper sheath might not provide as much protection as those made from harder materials and should be used cautiously. It is best suited for light, non-sharp knives or temporary use until a sturdier sheath is available. Always handle knives with care to avoid potential accidents.
Conclusion:
Creating a knife sheath from household items is an engaging, practical activity that ensures your knife’s safe storage and handling.
From unconventional materials like paper to more durable alternatives like Kydex, the key lies in choosing the right material based on your usage and available resources.
Remember, the final product’s functionality should be at the forefront, ensuring the sheath is sturdy, secure, and fits the knife well.
As you explore this DIY project, embrace the trial-and-error process — it encourages innovation and ultimately leads to a custom sheath that caters to your unique needs.


