Starting a fire with wet wood is tough. But don’t worry! We’re here to take you through it. You’ll learn about tinder and kindling. You’ll learn how to turn wet wood into a warm fire.
This skill of start a fire with wet wood could save your life. It keeps away the cold and staves off hunger. We’re about to dive into an important survival skill!
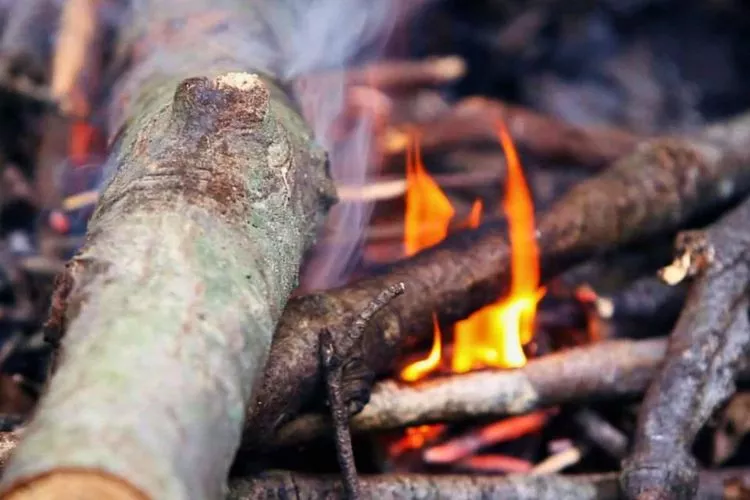
start a fire with wet wood: Detailed Guide
Do you think starting a fire with wet wood is hard? This guide will prove otherwise. We’ll teach you simple tricks using tinder and kindling.
These tips will help you start a fire, even with wet wood. This skill can defend you against cold and help you find food. Let’s start our journey into this key survival skill!
Gather Materials
Before attempting to start a fire with wet wood, you’ll need to gather the right materials to help get the fire going and keep it burning. The three key materials you’ll need are:
- Tinder- This is material that ignites very easily from a spark or small flame. Good options for tinder when starting a wet wood fire include birch bark, dryer lint, cotton balls, wax-coated cardboard, and anything else that is very fine and dry. You’ll want enough tinder to easily take the initial spark.
- Kindling- Once the tinder ignites, you need small dry sticks and branches to allow the fire to grow in intensity before adding the wet wood. Look for dry twigs, sticks, small branches, bark, and other flammable material that will readily catch fire from the burning tinder.
- Fuel Wood- Lastly, you’ll need the wet, larger logs and branches that you want to actually burn. Gather a mix of larger logs and smaller branches, and make sure they are still damp or wet. This is the challenging fuel that you’ll be trying to ignite using the tinder and kindling.
Getting the right materials in the proper amounts is crucial before you attempt to light a fire with wet wood. Take time gathering plenty of each component.
Prepare the Tinder
Tinder is the first layer of an effective fire and should be extremely flammable material. The most common natural tinders are dry grass, leaves, bark, cotton balls, or resiny wood shavings.
It’s critical to shred fibrous tinder into a light, fluffy bird’s nest shape with plenty of air pockets to feed the initial flame. This allows oxygen to quickly spread through the tinder and ignite easily with a spark.
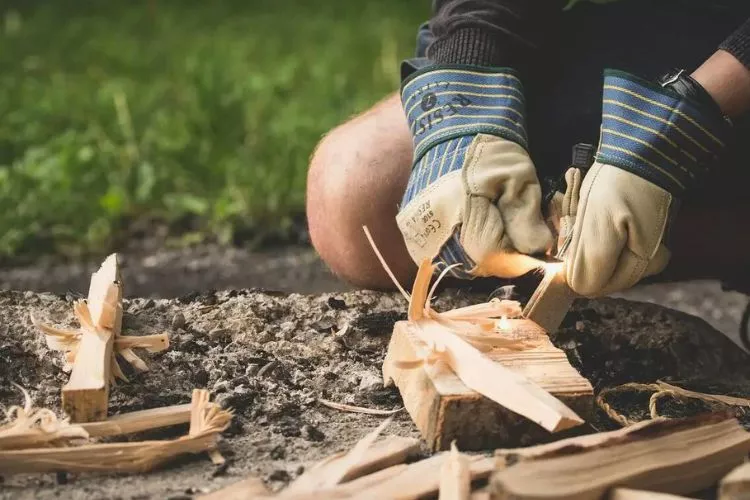
If conditions are damp, store your prepared tinder in a waterproof container or plastic bag to keep it dry until ready to use. Wet tinder leads to frustration when it won’t accept a flame.
Prepare a generous amount, as you’ll need ample fuel to grow from a single ember to fully ignite the kindling. Focus on making the tinder as fine and fluffy as possible, almost like a ball of cotton.
The more air spaces within the tinder, the faster and more easily it will ignite when introduced to a spark or ember. Don’t rush this step, as perfect tinder is fundamental to starting a fire with wet wood.
Prepare the Kindling
Gather small, dry twigs and sticks to use as kindling. Look for dead branches on the ground or break/peel dry pieces off of trees.
The key for kindling is to find pieces about the width of a pencil up to the thickness of your thumb. Avoid larger pieces at this stage.
If you find longer thin pieces, break or cut them into roughly 2-4 inch lengths. Having a variety of sizes helps the fire progress from tinder to larger fuel.
Split any pieces thicker than your thumb in half lengthwise with a knife or small hatchet. Splitting the wood increases the surface area, allowing the flames to catch more easily.
Aim to have a large handful of finely split kindling at this stage before moving onto the wet wood processing. Dry kindling is crucial for getting the initial flames to spread in the early stages of the fire.
Process the Wet Wood
Wet wood can be notoriously difficult to ignite. However, with a bit of processing beforehand, you can expose the drier interior wood that will more readily catch a spark.
The first step is to debark any wet logs or branches you intend to burn. Use a knife or hatchet to strip away the outer layer of bark.
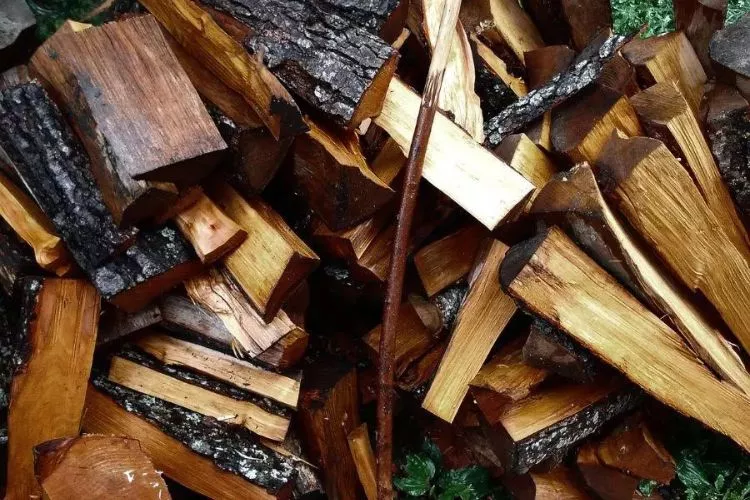
This bark absorbs and retains a lot of moisture, so removing it will help with the overall drying process. Focus your efforts on logs or branches approximately 1-3 inches thick, as these will be the best for starting and maintaining a fire with wet wood.
The next step is to split any logs lengthwise into quarters or smaller pieces if possible. This splitting significantly increases the surface area of the wood, allowing moisture to more easily evaporate.
Exposing the inside of a log also lets you access the drier heartwood at the center. Place the split wood pieces bark-side up near the fire so the heat can drive moisture out of the bare wood.
With just a few simple preparation steps, even soaking wet wood can be coerced into burning. Removing bark and splitting logs helps immensely by exposing dry interior wood and increasing airflow around the surface. Give your wet wood the prep it needs, and you’ll soon have those sizzling flames.
Assemble the Fire Structure
Place the tinder in the center of where you want your fire to be. Tinder refers to fine, dry, fluffy materials that will ignite quickly and easily, such as cotton balls, dry grass, or wood shavings.
Next, arrange the kindling in a teepee shape over the tinder, leaving some space for air flow. Kindling includes small dry sticks, twigs, or strips of wood that will catch fire more easily than wet wood. Lean the sticks against each other so they form a tent-like structure over the tinder.
Finally, stack the wet fuel wood pieces around the kindling teepee. Try to select wet wood that is not soaked through, but still damp on the outside. Place some of the larger wet logs on the bottom, then increasingly smaller pieces up the sides of the kindling teepee.
This assembled teepee structure allows plenty of airflow to reach the tinder while also providing sufficient fuel to keep the fire going once the kindling ignites. The arrangement helps the fire grow steadily outward from the tinder without being suffocated.
Ignite the Fire
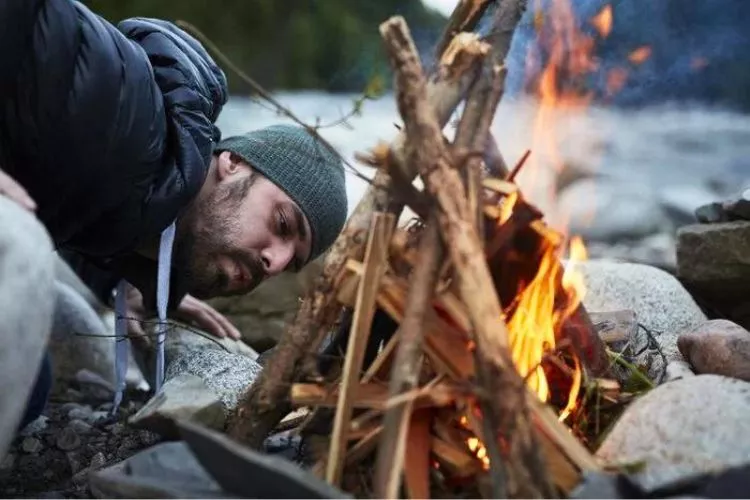
Kneeling down, gently blow on the tinder to ignite it. Make sure not to blow too hard or you’ll blow the tinder away. If the tinder doesn’t light, use a firestarter like a match or lighter to get it going.
Once the tinder has ignited, slowly add small kindling sticks to allow the fire to grow gradually. Place the kindling on top and around the tinder so the flames can spread.
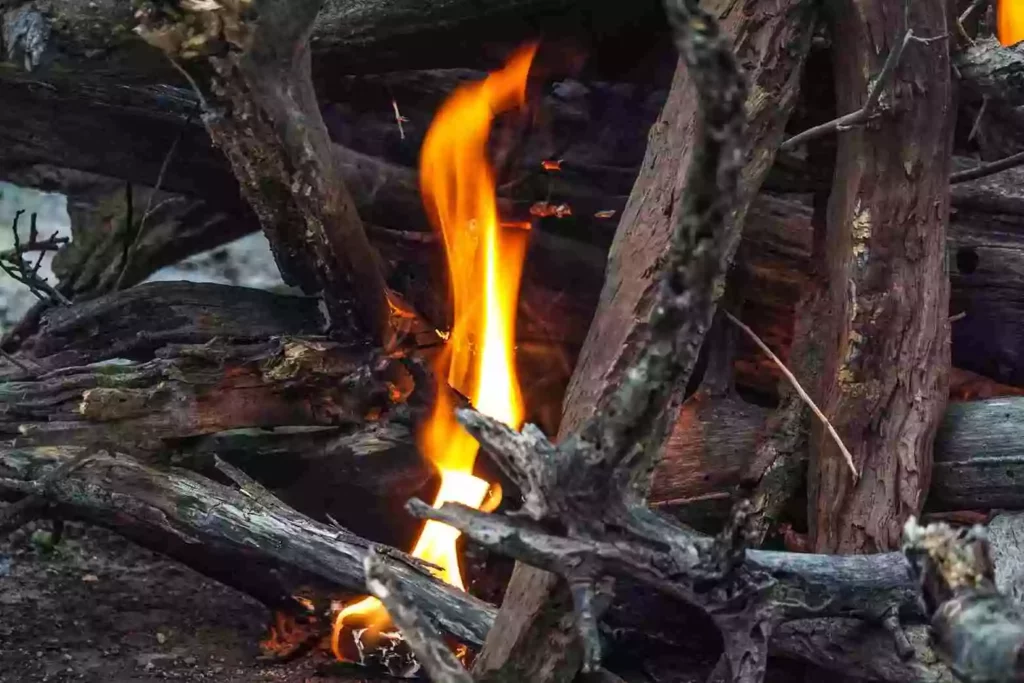
Add kindling slowly, piece by piece, giving the existing fire time to spread before adding more. The key is patience here – build the fire up slowly and steadily.
Rushing and adding too much kindling at once could smother the burgeoning flame. Take your time and allow the fire to take hold at its own pace.
Once you have a decent sized flame with the kindling burning, you can start to carefully add slightly larger sticks.
Maintain the Fire
Once you have ignited your tinder and kindling into a small but steady flame, you can begin the process of maintaining and growing the fire with your wet fuel wood. This requires patience and persistence.
Add kindling gradually, in small amounts, to slowly build up the fire’s flames without smothering it. You want to give the existing fire enough time, oxygen, and dry fuel to continue strengthening before making it work on larger wet logs.
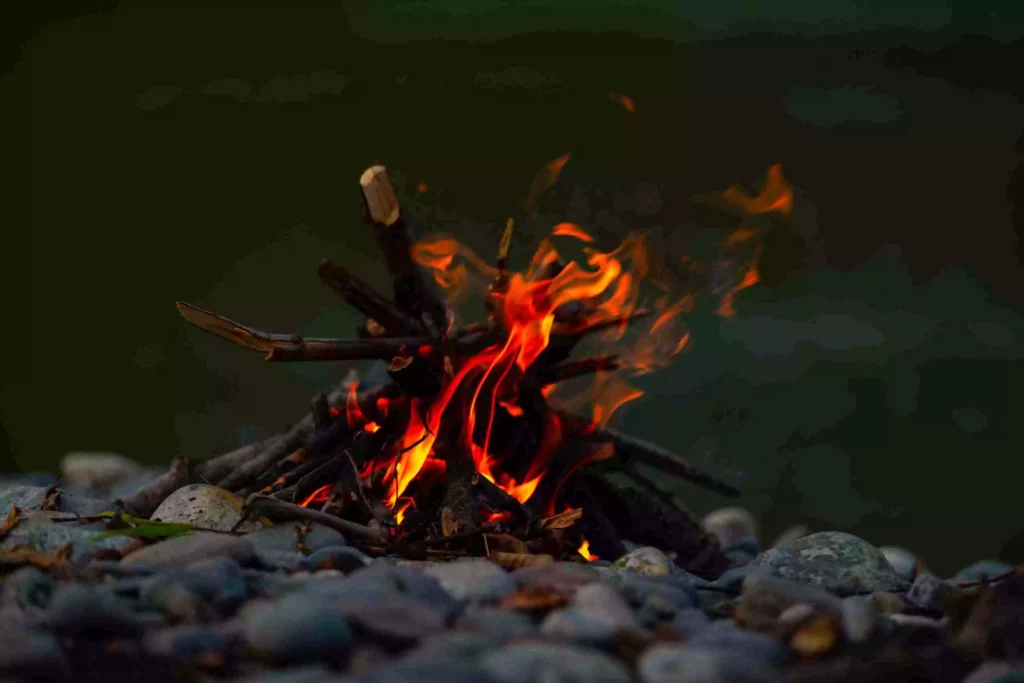
As the fire grows, begin placing some of your larger wet fuel wood pieces in strategic spots around the edges of the fire. Avoid smothering the main flame. The radiant heat from the kindling will slowly begin drying the wet wood.
Once the fire has grown large and hot enough, you can start fully incorporating the wet wood, stacking it in a way that allows air flow while positioning it to dry and ignite from the heat source.
Expect crackling and hissing from the wet wood. Manage air flow and gradually feed the fire. With time, skill, and care, you’ll have a roaring fire from fuel that started soaked.
Troubleshooting
It’s common to run into some issues when trying to start a fire with wet wood. Here are some of the most common problems and how to fix them:
- Not enough air flow – If the fire is smoldering and not catching, it likely needs more oxygen. Try blowing on it or fanning the fire. Adding more air flow will help the flames spread.
- Wet tinder – If the tinder didn’t light or stay lit, it may have gotten too wet. Carefully remove the wet tinder and replace it with dry tinder before attempting to light again. Tinder must be very dry in order to ignite.
- Too much wet wood too soon – Adding a lot of wet wood before the fire is fully raging can smother the flames. Go slowly when adding damp wood by starting with small, thin pieces. Allow each piece to catch fire before adding another. Don’t overwhelm the blaze with wet wood.
Practice Makes Perfect
Starting a fire with wet wood takes patience and perseverance. The more you practice, the better you will become at this useful wilderness skill. There are several ways you can gain experience starting fires with damp fuel:
Experiment with different tinder and kindling
Not all tinder and kindling are created equal when trying to ignite wet wood. Try gathering different natural materials like bark, resinous twigs, cotton balls, and charcloth to see which allow you to establish a hot fire bed that can dry and ignite wet wood.
Try different wood processing methods
There are many techniques for processing wet wood to make it more flammable, like split-wood fire lays and making feathersticks. Try carving wet logs in different ways and stacking various fire configurations to discover which ones burn the best for you.
Repeat in various conditions
Practice starting fires with soaked wood in a range of weather and environmental conditions. See how your ability progresses in light rain, heavy rain, snow, high wind, extreme cold, high humidity or arid environments.
The more experience you gain, the more intuitive and skilled you will become at working around less than ideal circumstances. The best way to become proficient at starting fires with damp wood is to practice regularly.
Don’t get discouraged by initial failures. Experiment, adjust your techniques, and repeat the process to steadily improve your skills. With time and dedication, you will be able to start a fire with wet wood whenever needed even in challenging situations.
You may also find useful: How to Start A Fire Without Kindling
Why Start a Fire with Wet Wood?
Starting a fire with wet, damp, or freshly cut wood is an essential wilderness survival skill. While it may seem impossible to ignite wet fuel, there are techniques that can help you successfully build and maintain a fire even when conditions are less than ideal.
Learning how to start a fire with wet wood is important for several key reasons:
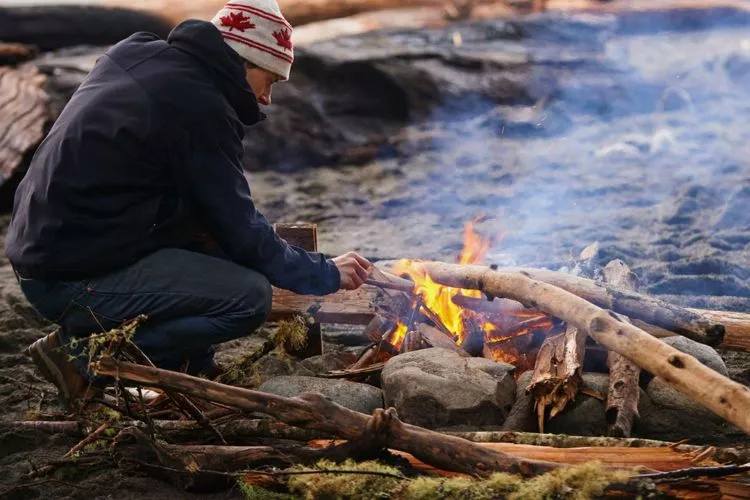
- Survival Situations: In an emergency survival situation where all the available wood is wet, like after rain or snow, being able to start a fire with damp fuel could save your life. Having the skills and knowledge to start a fire with limited dry tinder or fuel is critical.
- Wet Camping Conditions: Even on recreational camping or hiking trips, wood can easily get wet during storms, damp mornings, or when collecting branches from living trees. Knowing techniques for processing and drying wet wood allows you to start a fire whenever needed.
- Skill Building: Beyond urgent survival needs, starting fires with wet wood is also useful for building your skills, knowledge and self-reliance. It’s an impressive and satisfying wilderness skill that takes patience and practice to master.
Having the ability to successfully ignite and sustain a fire using wet, damp or freshly cut wood is invaluable for emergency situations, wet weather camping, and improving your overall wilderness skills. With some preparation and technique, it is possible to start a fire even in the wettest conditions.
Conclusion:
We’ve walked together through the path less traveled – mastering the art of starting a fire with wet wood. Equipped with these skills, you should never fear cold, survival cooking, or signaling for help in any outdoor setting.
Always remember to keep a keen eye for the perfect tinder and kindling, braving through damp conditions. This newfound knowledge is not merely information – it’s a lifesaver.
Nature can test us in many ways, but you are now ready to greet this particular challenge with strength and confidence. Go forth, put these lessons to practice and keep exploring!

